Selection Share
Installation
Installing tx_selectionshare.zip plugin is pretty simple. You have to download if first from our site then just follow the instruction below regarding installation.
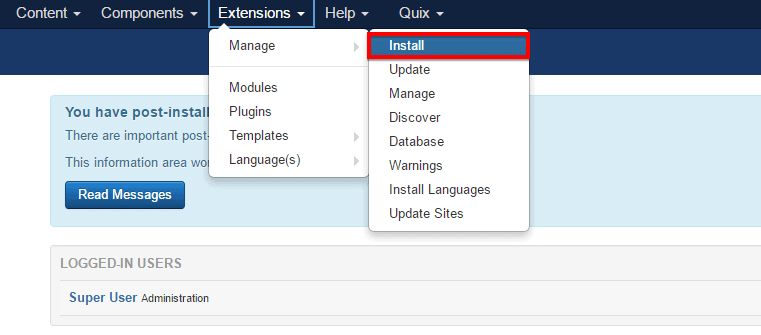
- Go to
Extension> Manage> Installand from Install from Folder tab, select your downloaded tx_selectionshare.zip file and click Check and Install button. It will show you a successful installation message as soon as it installed successfully.
Enabling
To enable it you need to-
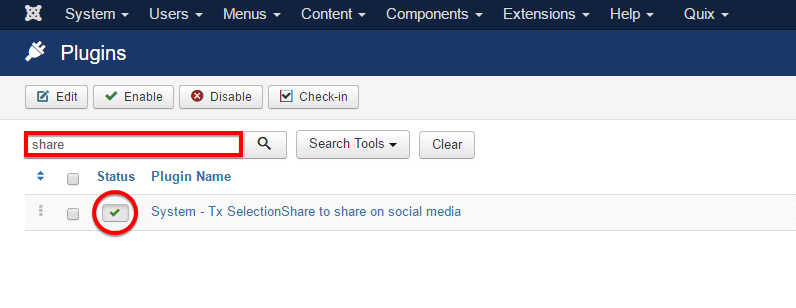
- Go to
Extensions> Plugins

- Find the plugin from the list. You can use the search box to find it quickly. After you find it, enable it just by clicking on the pointed area shown in the screenshot below.
After doing this exactly according to the guideline, you are done completely. Now, go back to your front-end and select your desired amount of text using your mouse left key and you’ll find three social media ( Twitter, LinkedIn, and Gmail) to share the post in.
Facebook API Configuration
If you want Facebook to appear on this social media list, but you need to do a few additional tasks for it. Follow the procedure below.
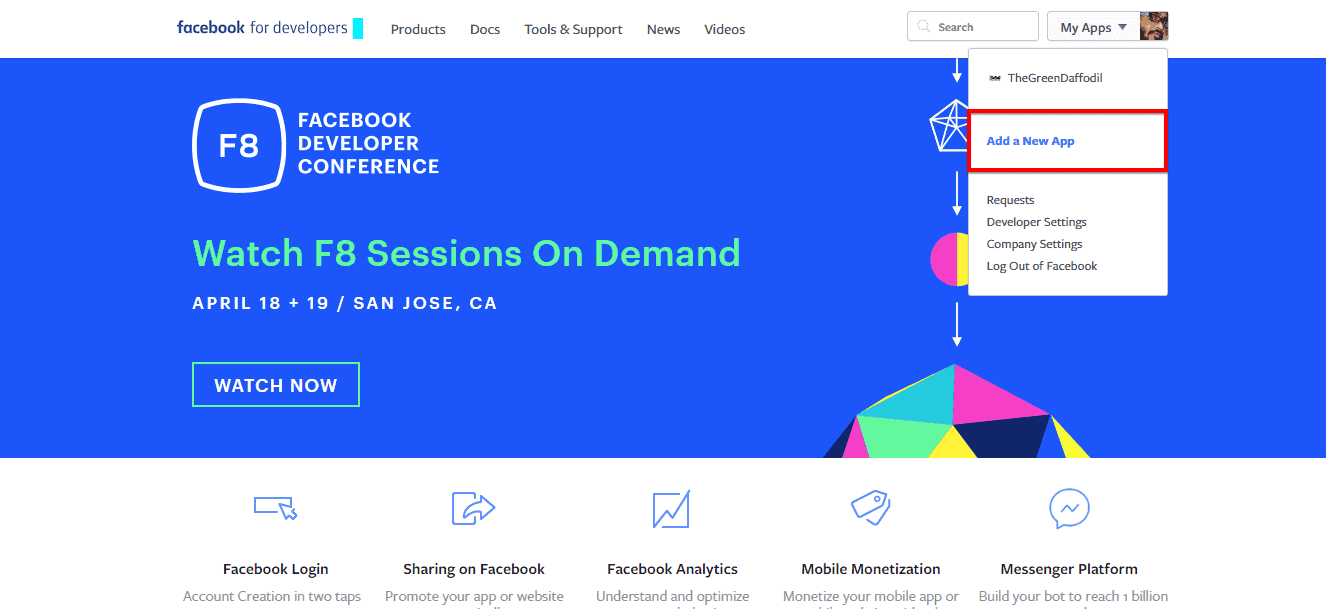
- First, go to Facebook Developer Page and select Add a New App from the drop-down menu. A configuration module will appear then where you need to provide your desired information.
- On the Display Name empty text box, write your desired App Name and provide your email address on the Contact Email text box.
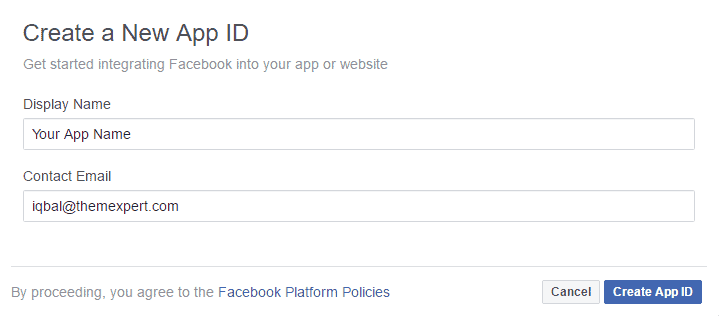
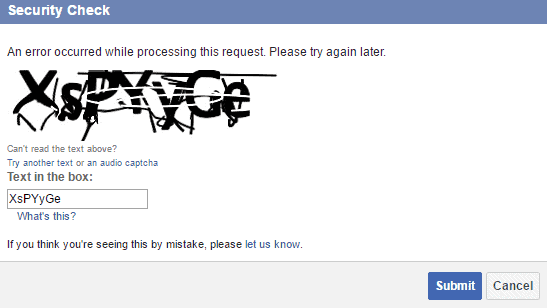
- You may need to provide a captcha code for security purpose and after that, click on Submit button.
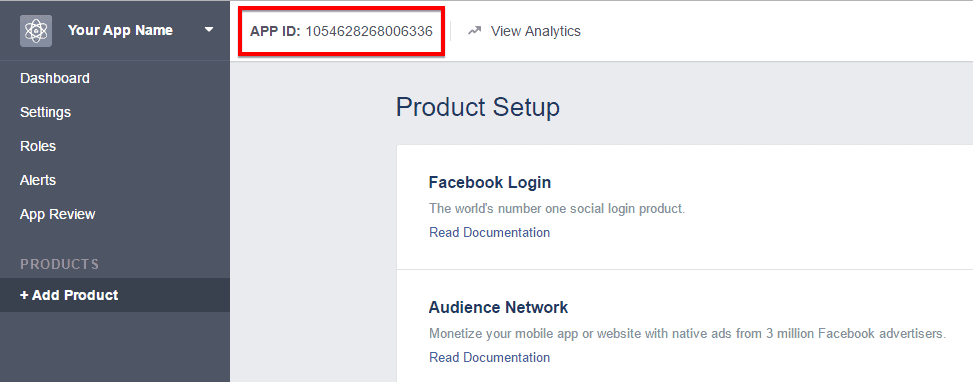
- Now, you’ll be taken to the Dashboard and you’ll find the App ID at the top of the module and copy it.
- Go to
Extensions> Pluginsand paste the App ID on the App ID text box, and you are done. Now, visitors will get Facebook sharing button too when they select an amount of text from your site front-end.
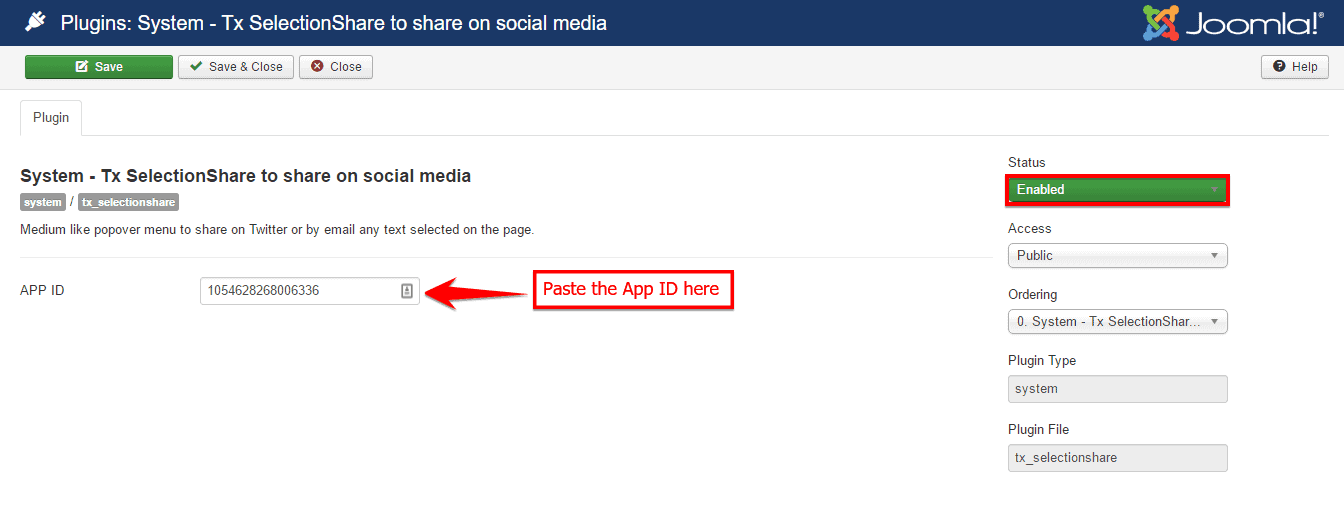
Make sure that Status is selected as Published.
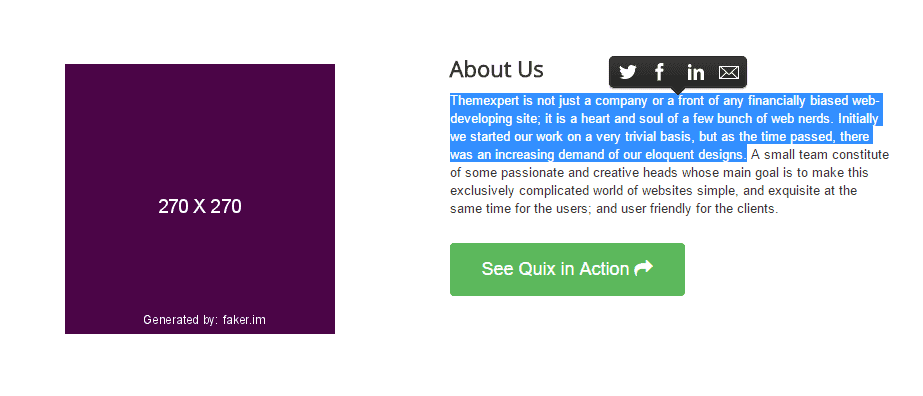
Front-end appearance is like below.
Grow rapidly with our Joomla SEO service done by the veterans
With over 12 years of business and a vast array of Joomla templates and extensions, we know Joomla SEO better than anyone you could possiblly hire.
Improve my ranking