Notification
Download
Visit our website, go to DigiCom’s Addons Page, head over to your desired addon and use the download button to download your preferred one.
Installation
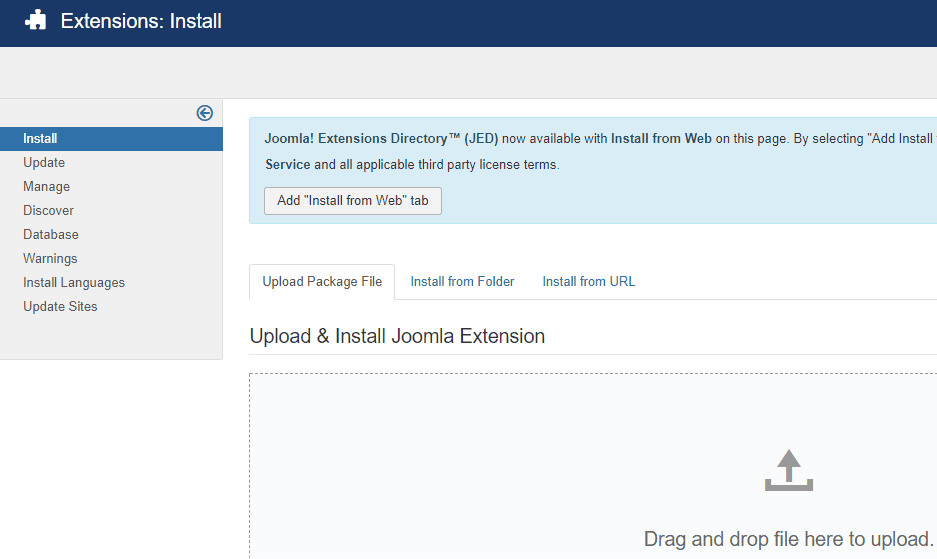
Installing plg_digicom_notification.zip plugin is pretty simple. To do so,
- Go to
Extension> Manage> Installand under Install from Folder tab, select your downloaded plg_digicom_notification.zip file and click Check and Install button. It will show you a successful installation message as soon as it installed successfully. Else, you can drop your downloaded file under the Upload Package File tab, and it will automatically upload your addon.
Enabling
You can find it on the plugin list. What you need to do to enable it is-
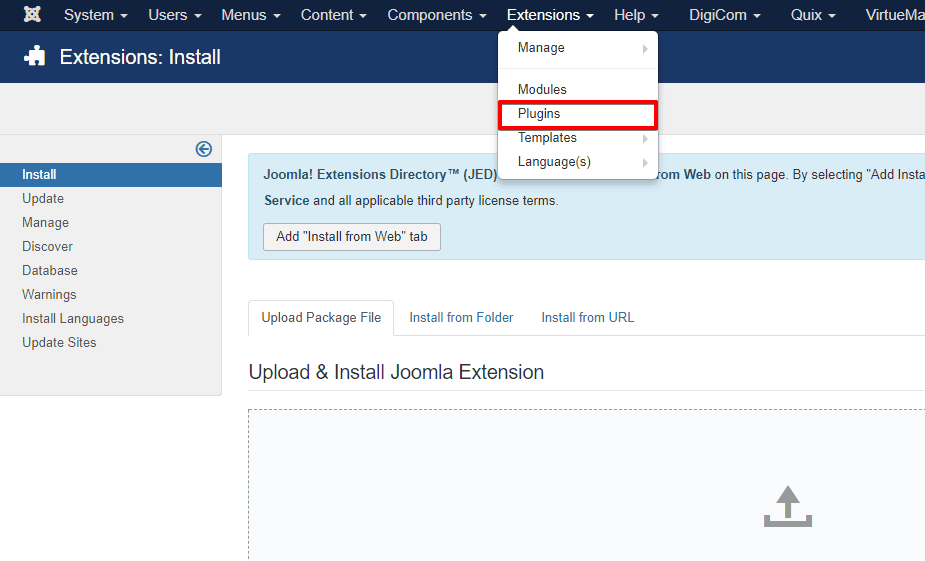
- Go to
Extensions> Plugins
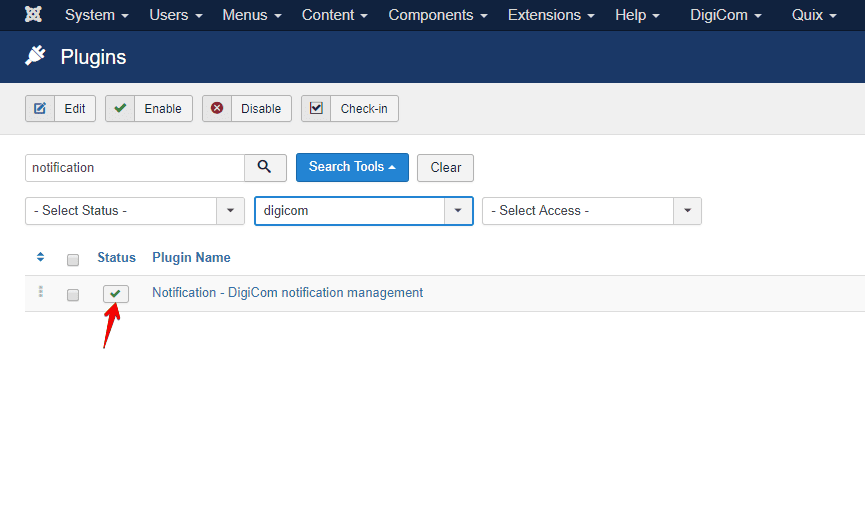
- Find the plugin from the list. You can use the search box to find it quickly. Just write
notificationon the Ajax search box, and you’ll find it on the top of the module. After you find it, enable it just by clicking on the pointed area shown in the screenshot below.
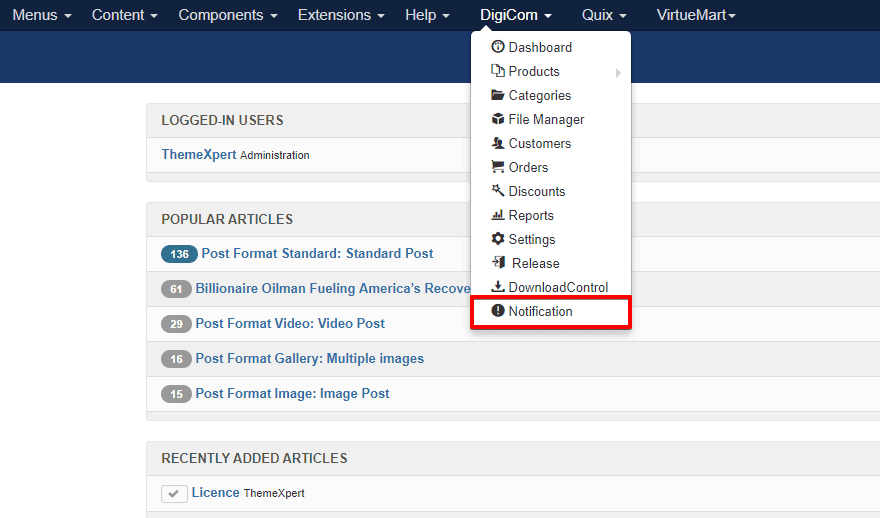
After enabling this plugin,you will find a new menu on your DigiCom dashboard, named Notifications

Configuration
Click on the plugin and the configuration modal window will appear.
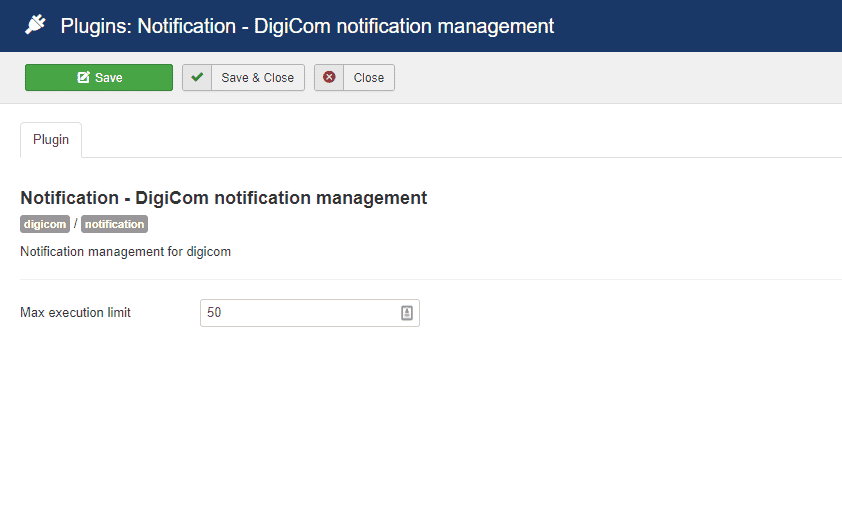
- Max execution time : Define how many messages you want it to send at a time.
Ho To’s
Add New Notifications
Adding new notifications is pretty straightforward. Follow the instruction below to add a new notification,
- Go to
DigiCom> Notifications
- Click the New button at the right-top.

Here you can find couple of configuration options. Check below for what they stands for.
Title : Give a name for the notification.
General
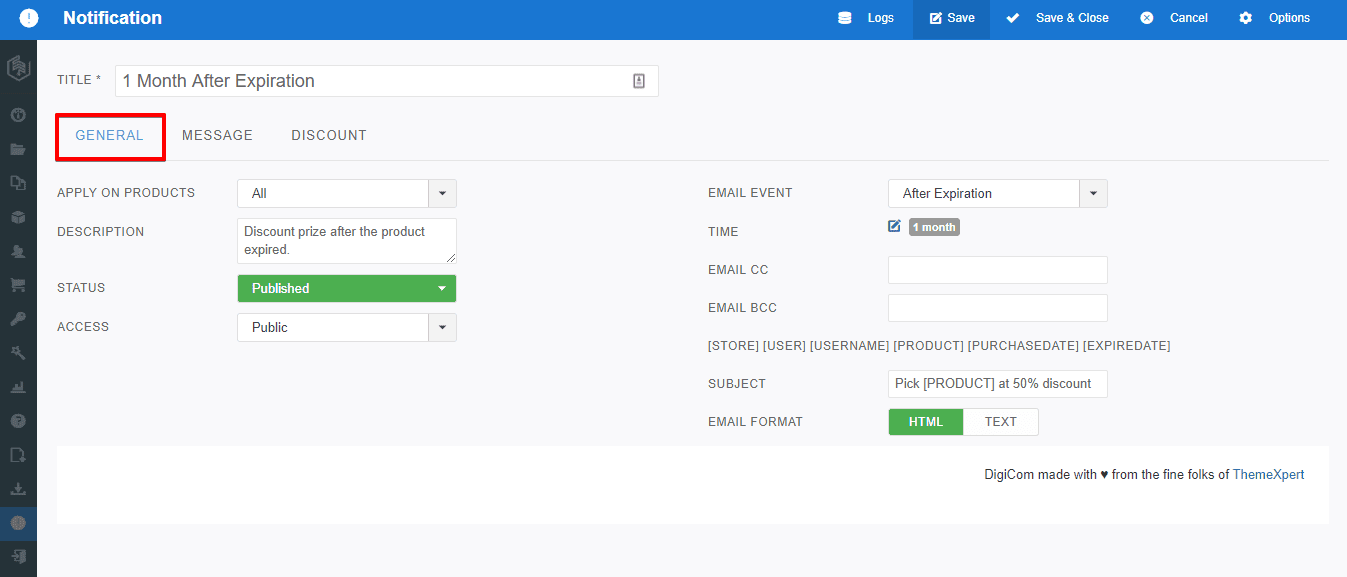
- APPLY ON PRODUCTS : Define for which product you are creating this notification. Else, you can create the notification for all products.
- DESCRIPTION : Put a description text about this notification.
- STATUS : To set the status published means that it's in enable state.
- ACCESS : Define the targeted user group from the drop-down. By default its public.
- EMAIL EVENT : Define when you want the notification is to be appeared.
- TIME : Set the time.
- EMAIL CC : Put additional email address to send the notification via the email.
- EMAIL BCC : This is optional.
- SUBJECT : Put a subject.
- EMAIL FORMAT : You can either select HTML or TEXT. HTML format allows you to send customized html page as notification, where TEXT allows only send notification as plain text.
MESSAGE
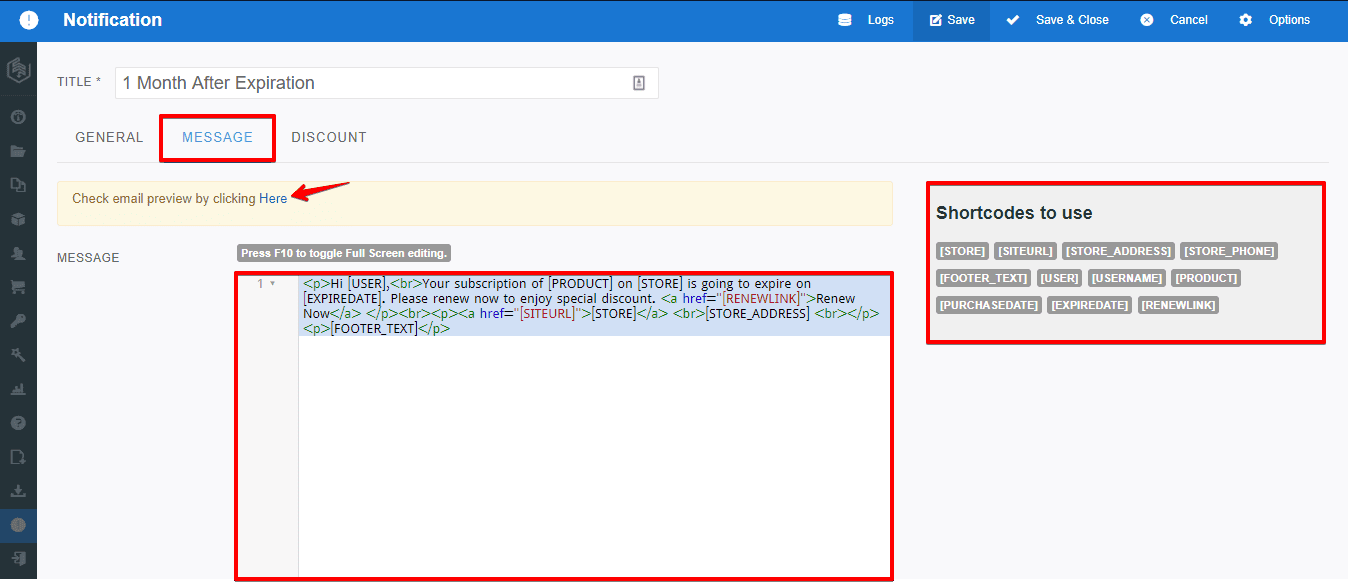
- MESSAGE : Keep the default message or customize the message body. If the EMAIL FORMAT option is set HTML, you can write html markup to customize the message.
- SHORTCODE : Those shortcodes can be used on the message body. Shortcodes automatically convert the code into name.
DISCOUNT
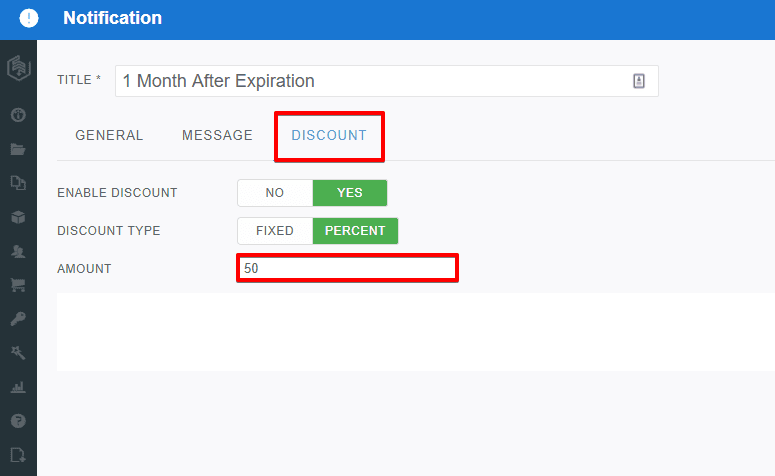
- ENABLE DISCOUNT : Allows you to enable or disable a discount via this notification.
- DISCOUNT TYPE : You can either discount a fixed amount or in percentage.
- AMOUNT : Define the discount amount here.
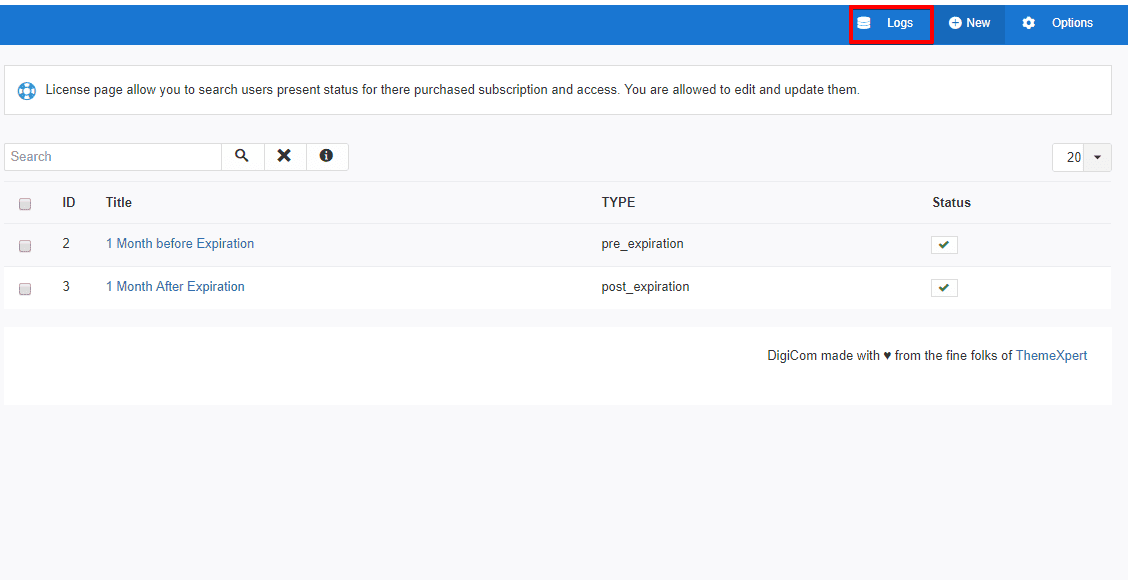
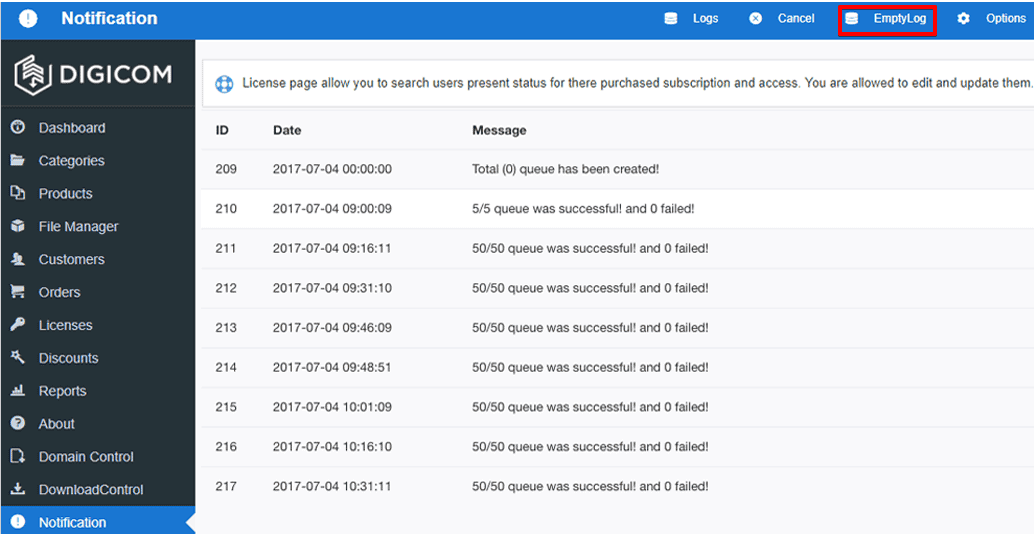
See the Log information
- Click on the Logs at the top-left of configuration module.
- You can clear all log information by simply clicking on Empty Log button.
Grow rapidly with our Joomla SEO service done by the veterans
With over 12 years of business and a vast array of Joomla templates and extensions, we know Joomla SEO better than anyone you could possiblly hire.
Improve my ranking